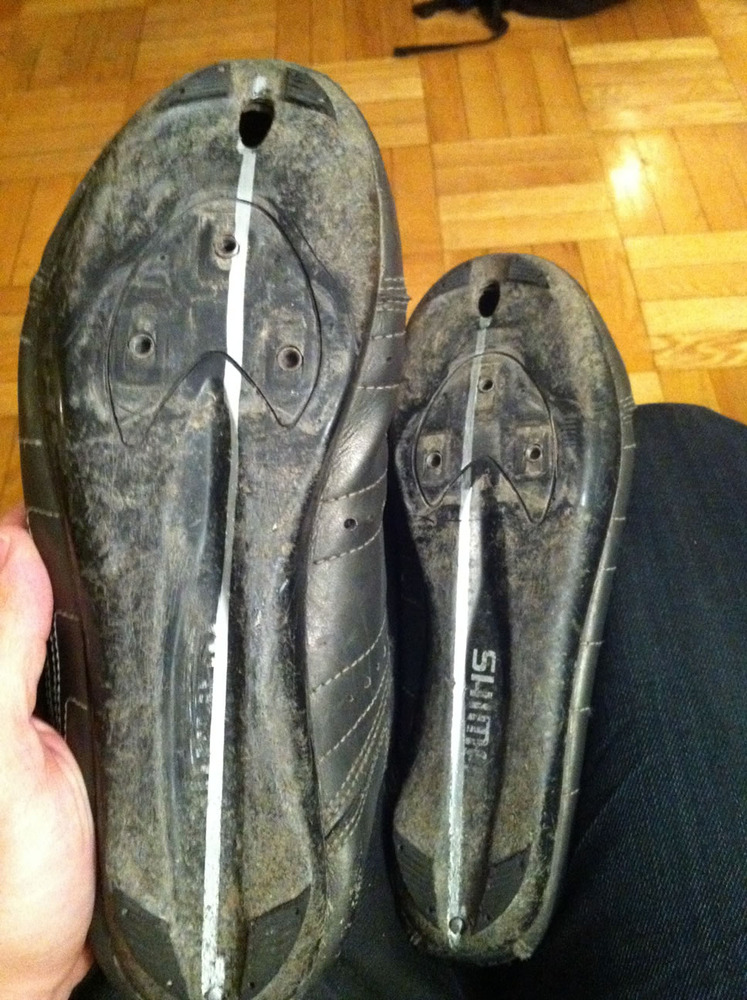
Since the end of last year when I was told I have a touch of tibialis posterior syndrome (basically a glorified form of tendinitis involving the tendon connecting the back of your shin to the bottom of your foot), I’ve been completely off running, and only able to handle very small amounts of cycling at a time.
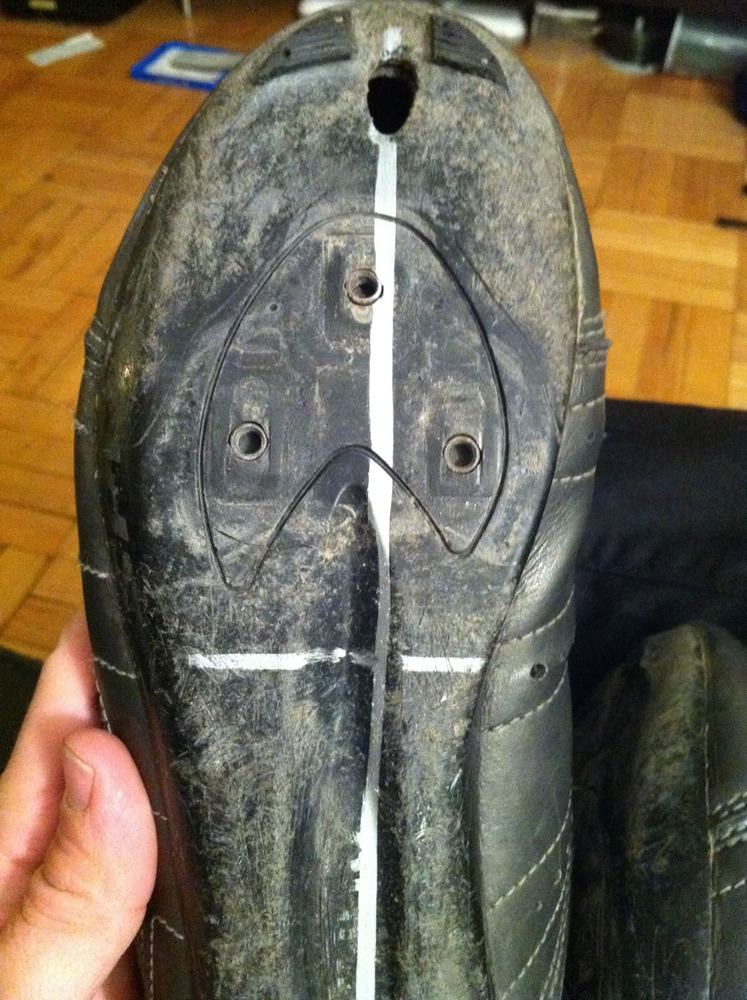
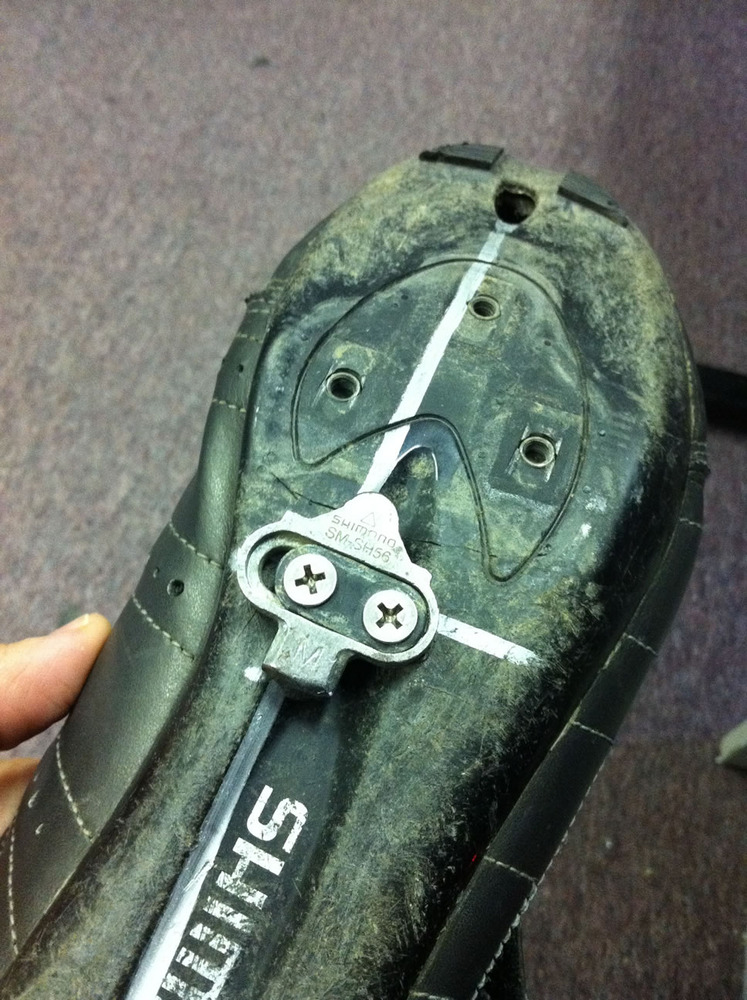
I could spend hours explaining exactly why (if you’ve read my training blog you’ll know I’m not exaggerating), but I believe that trying this midsole position will take much of the pressure off my tendon, which might actually allow me to start cycling again, and if I’m very lucky I can resume a regular training schedule. [fingers crossed] For more info on the midsole cleat position, check out some of the archives on Joe Friel’s blog (author of the Triathlete’s Training Bible and the most vocal proponent of a midsole cleat). His latest midsole cleat post is about how it can improve running performance off the bike, and it also contains links to his previous articles. This guide is based on Joe’s how to post, which uses a very similar shoe to mine.Step one: Mark a line down the centre of the shoe. I used the hole in the top with the indentation in the bottom
Step two: Measure the halfway point in the sole and…
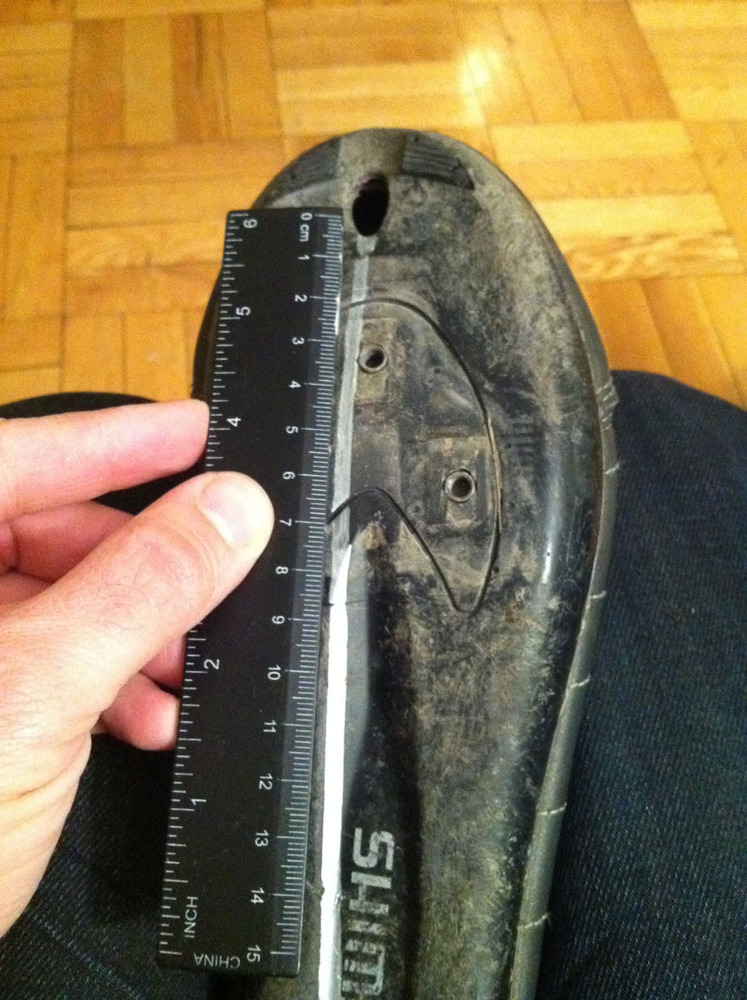
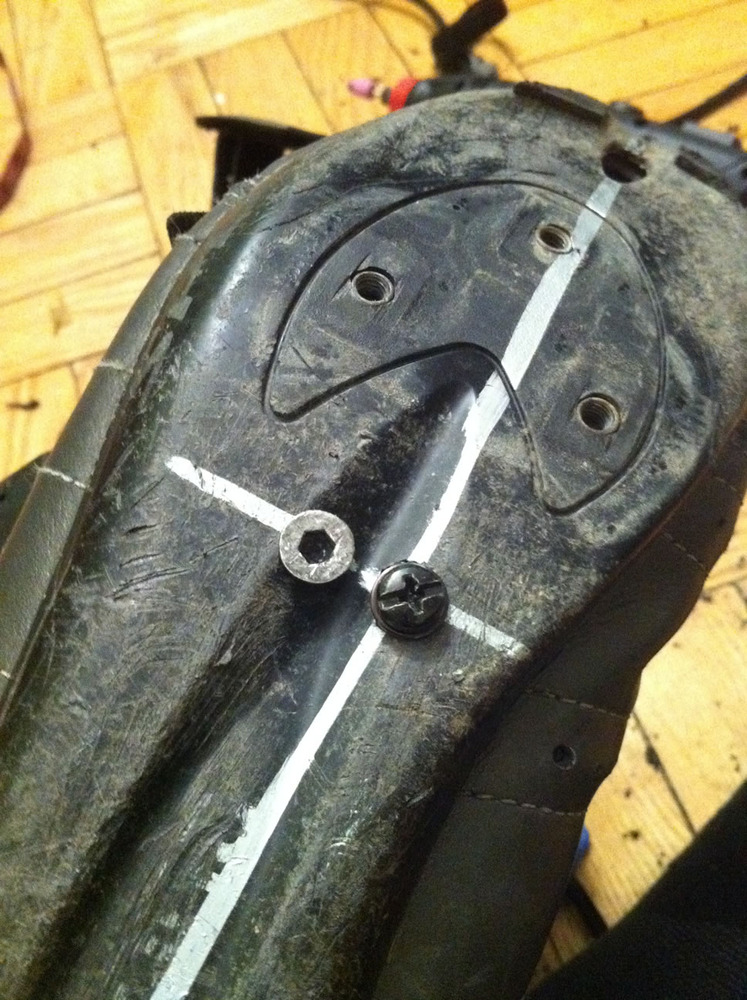
Step three: Make a perpendicular line.
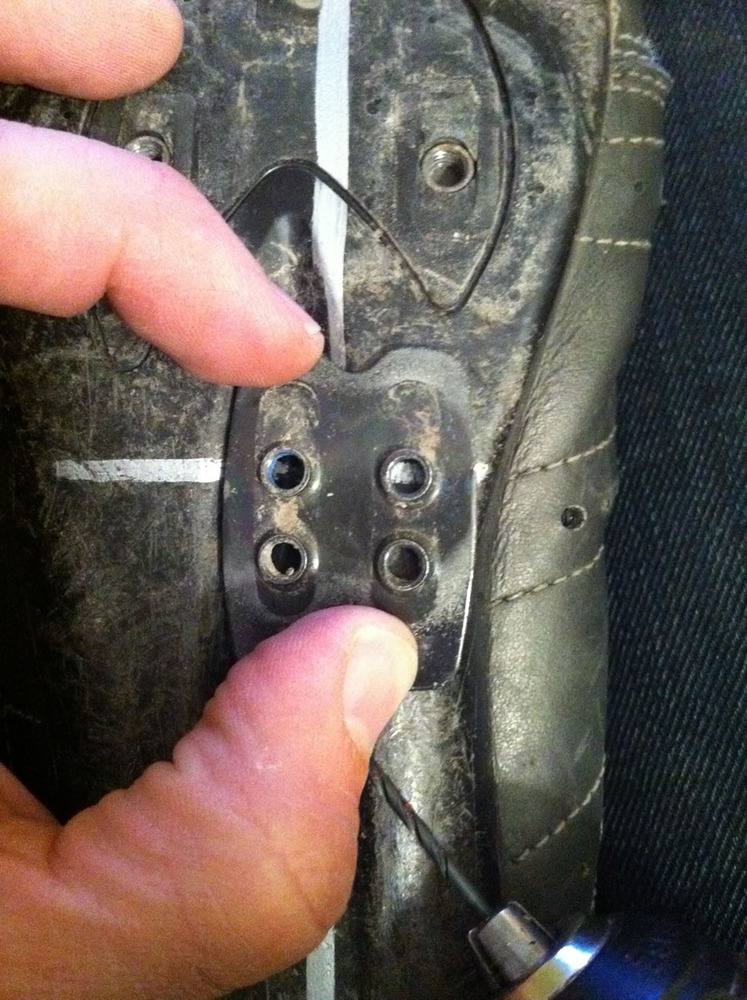
Step four: Drill the holes. This shows the mounting plate in it’s position, which I used as a template to drill the holes (I’m not sure where they came from, but I had a few in my bag of parts).
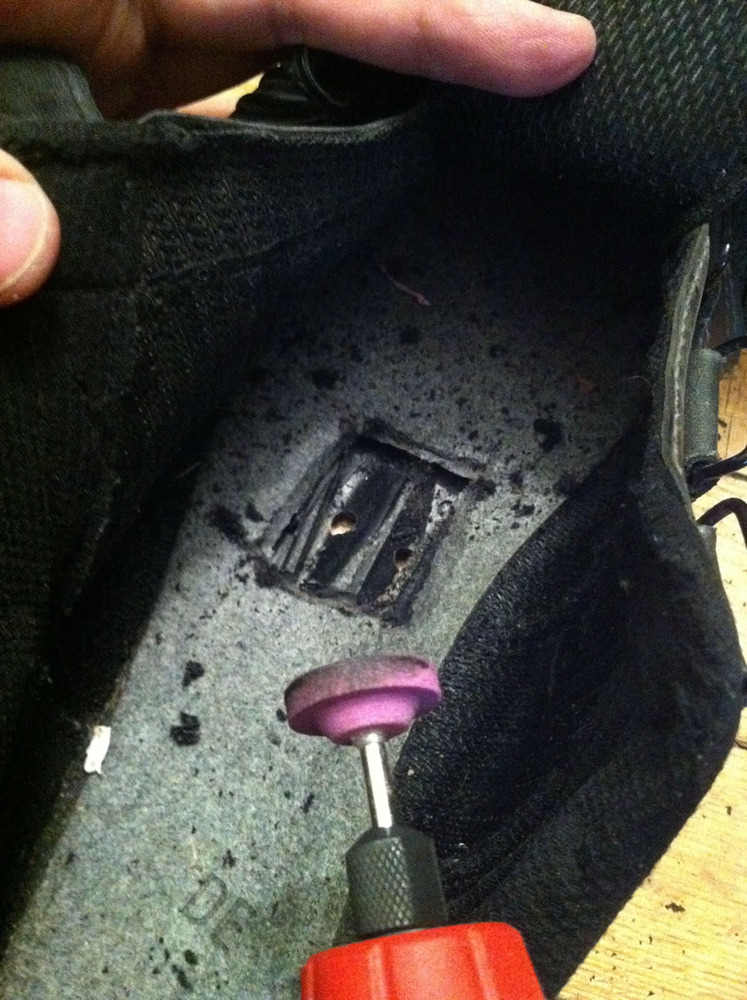
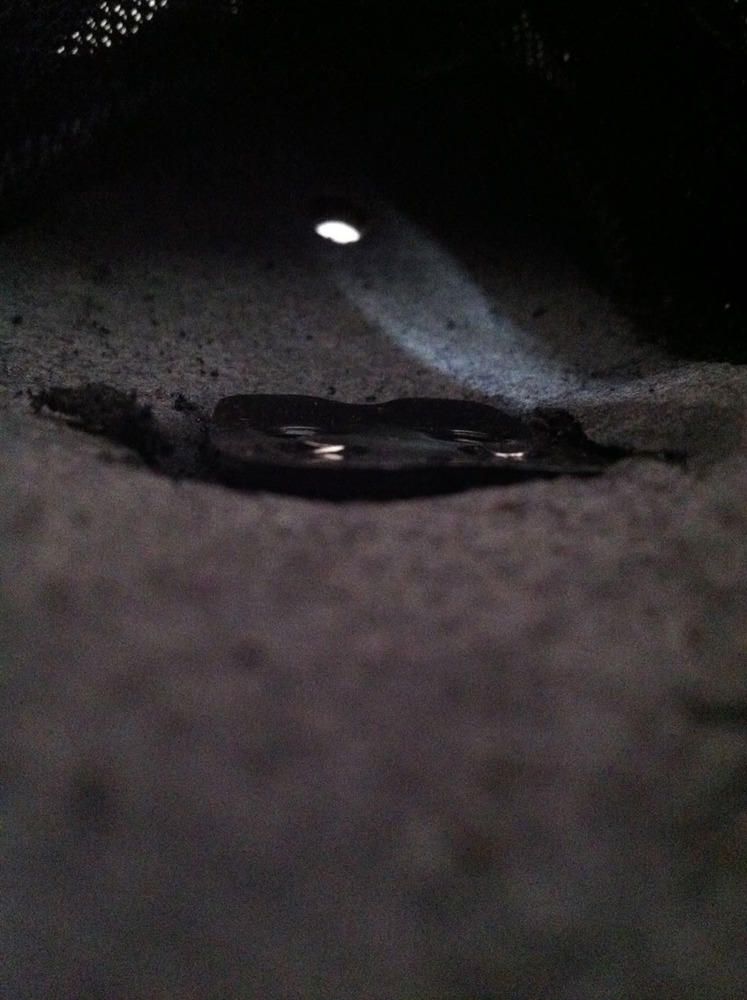
Step five: Dremel out a square in the inside of the soles to give a spot for the mounting plate to be recessed into.
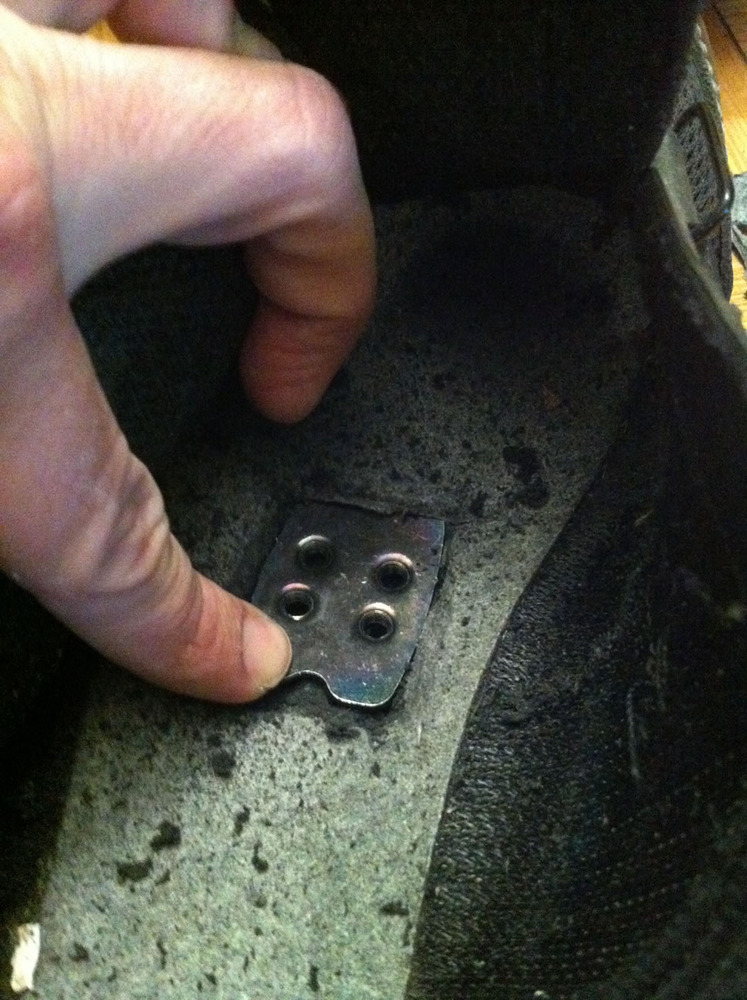
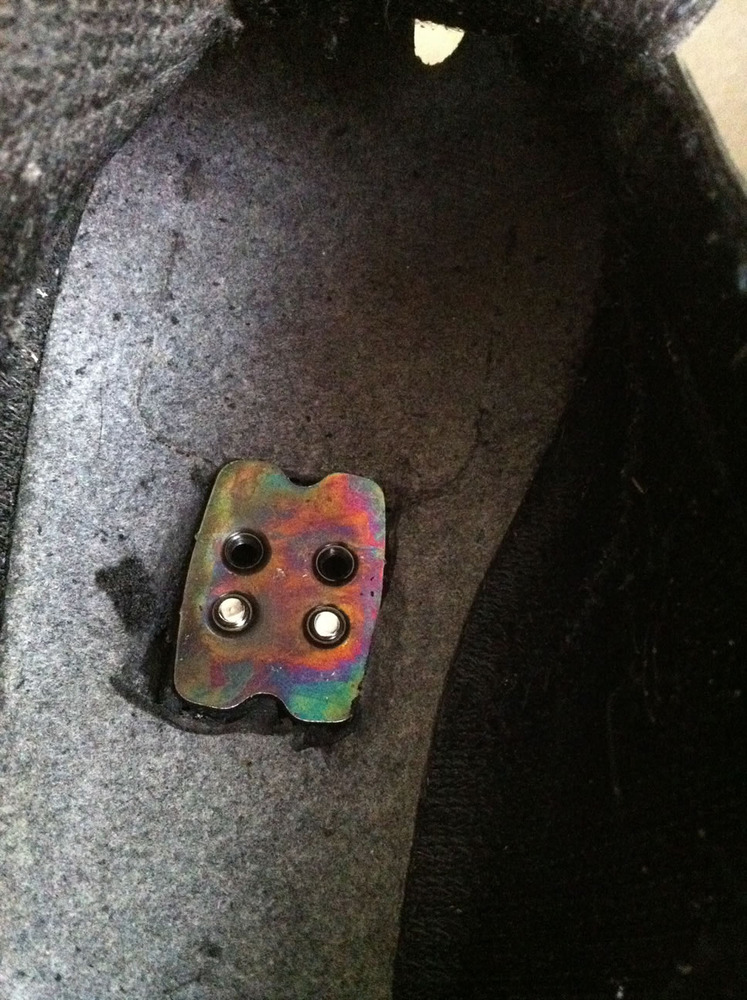
Step six: position the mounting plate.
Step seven: Screw a couple random bolts into it.
Step eight: Laugh at the pain from sticking your foot into the end of a randomly long bolt.
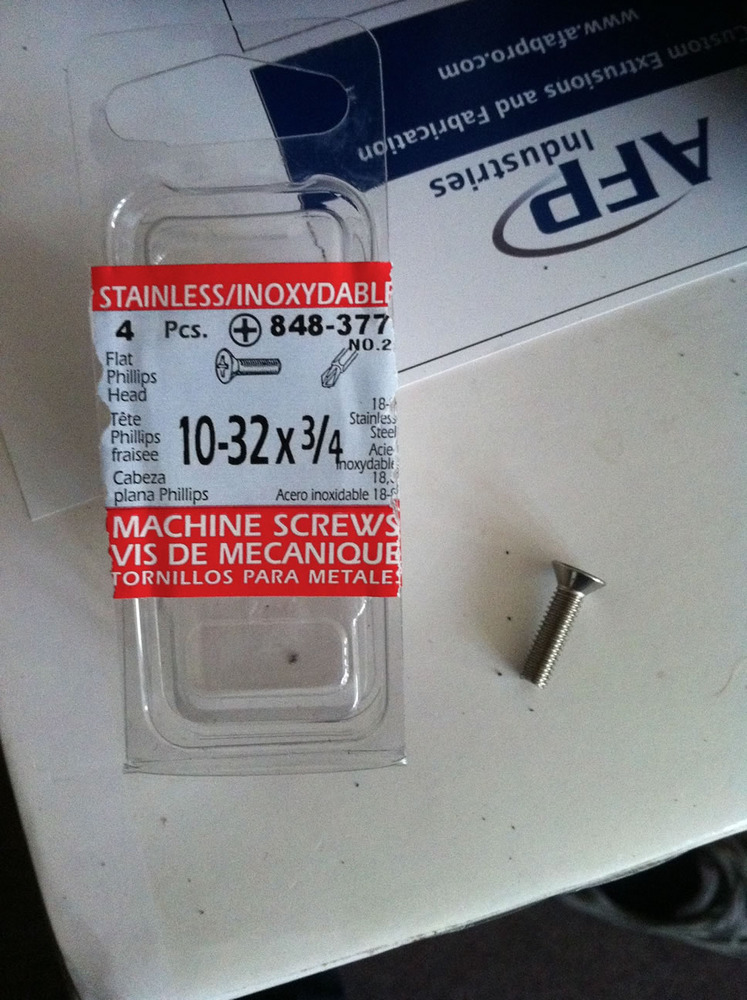
Step nine: Grab some appropriate-length machine bolts from Home Depot. Interestingly this non-metric size is a direct match, not only with thread pitch and length, but they’re tapered exactly the same as the originals.
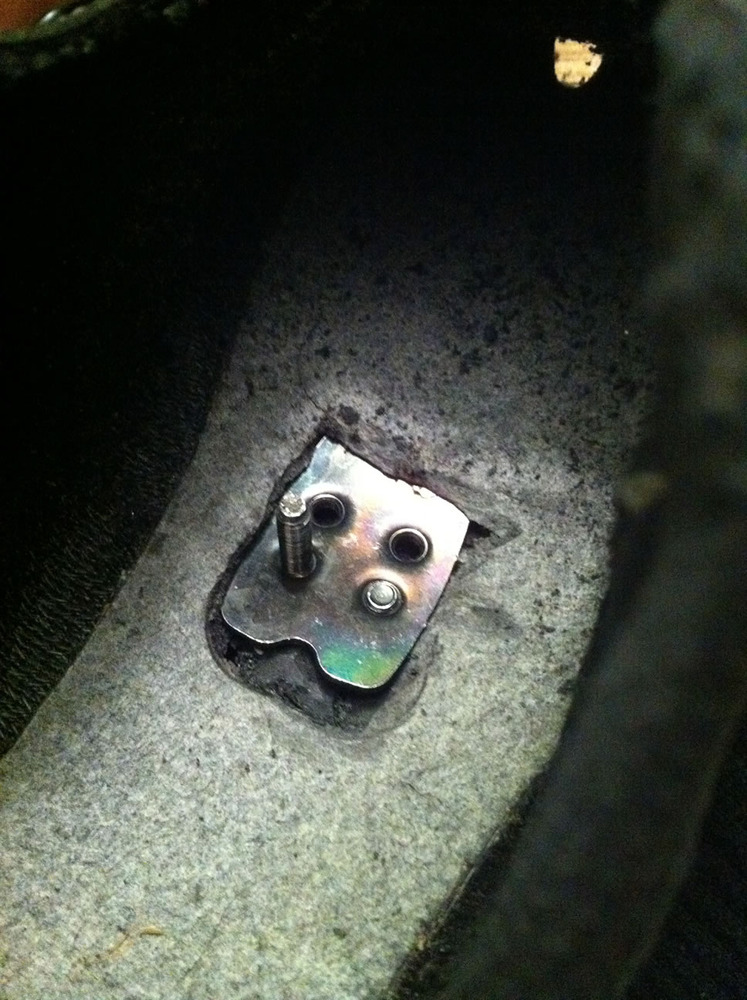
Step ten: Install new machine bolts
Step eleven: Consider dremelling a deeper recess for the plate, and possibly reinforce with epoxy if appears that any structural integrity is lost.
Step twelve: Admire your work. Oh yeah, and test it when you get home tonight. [fingers crossed again]
hi, becasue of a bad injury, i need to move my 3 hole cleats (look) up rather than down tto the med sole. what tee nut do you recomend i use. do you have any advice and specifics on how to do this. the tee nut i found at the hardware store are made for wood and have pointy things that would ned to be filed down. are theese acceptable?? do i then then need to epoxy them?
please help in any way you can.
thanks!!!
soraya